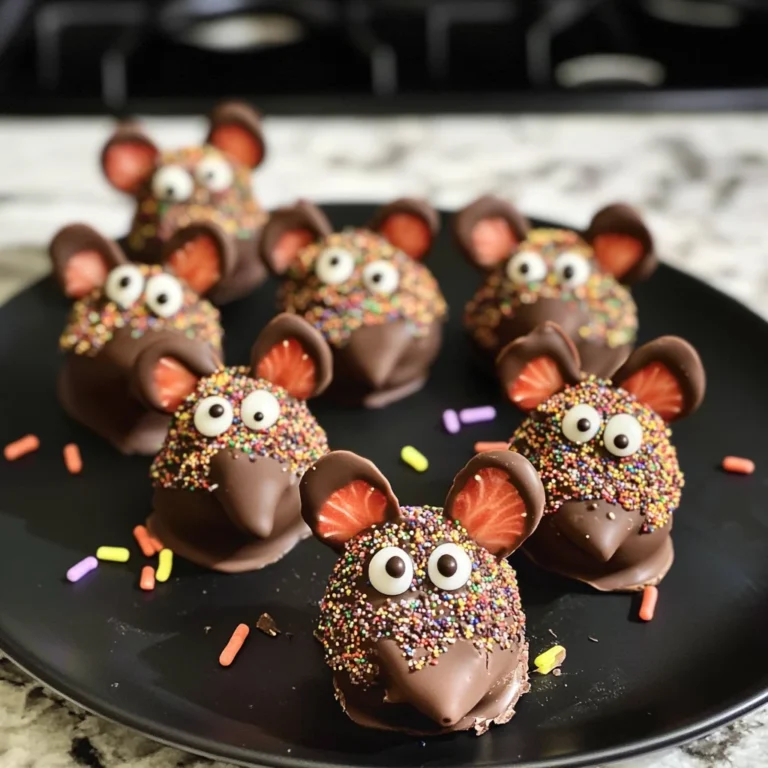
Halloween Apple Pops
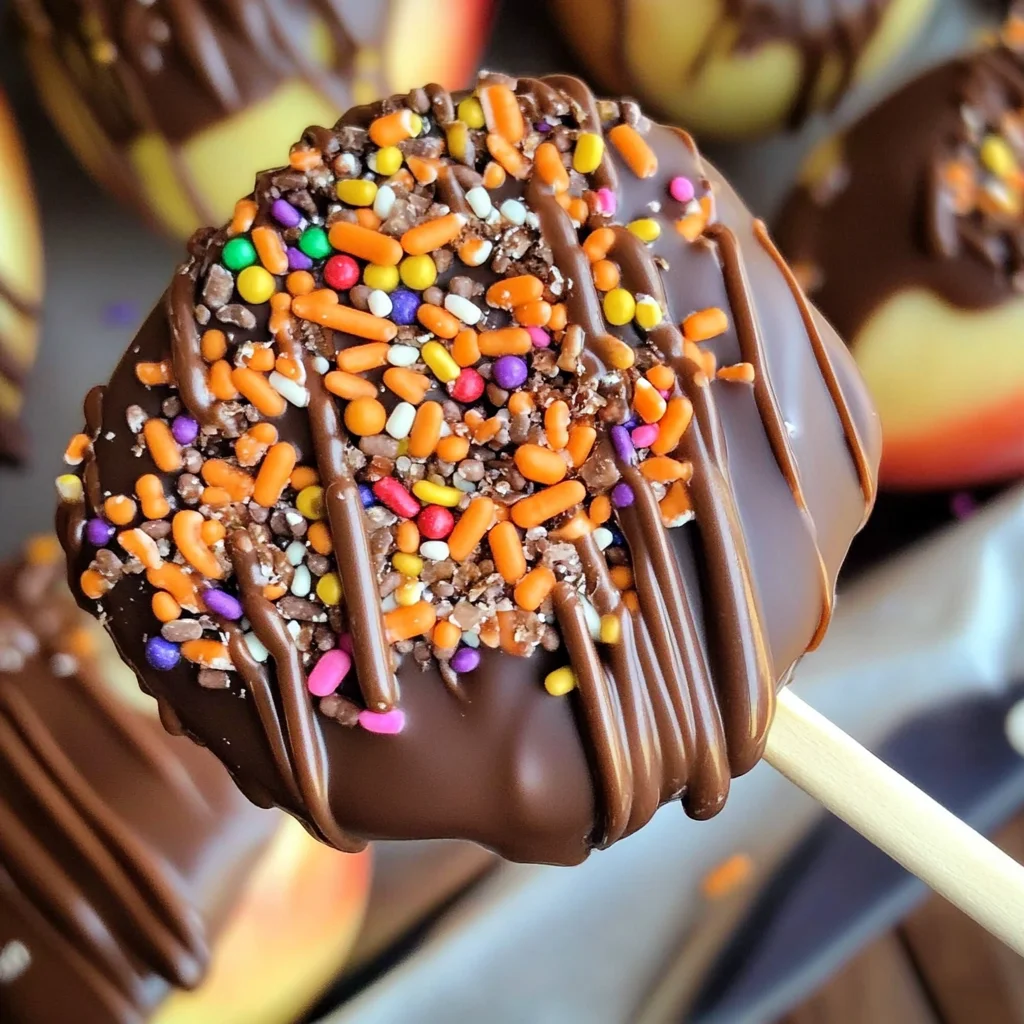
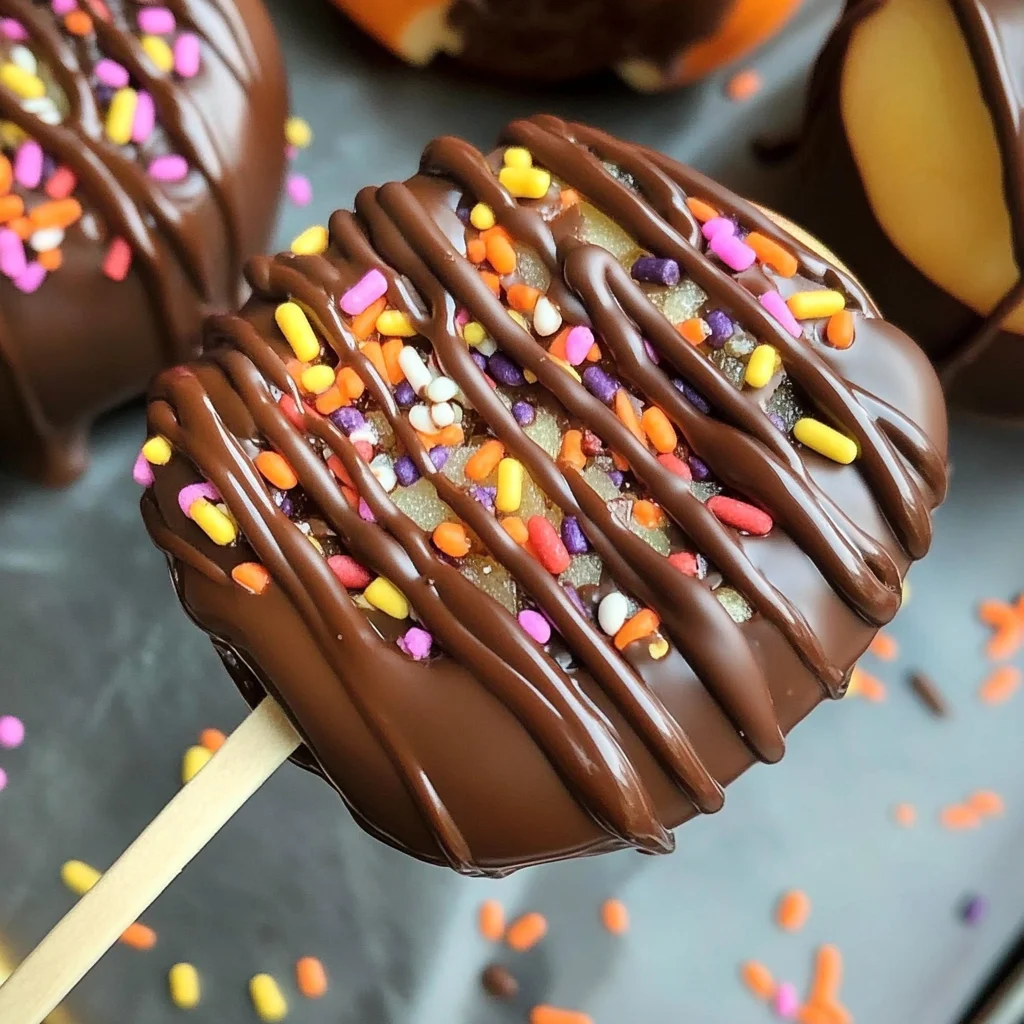
Halloween Apple Pops are the perfect festive treat to celebrate the spooky season! These delightful snacks combine the crunch of fresh apples with a rich chocolate coating and colorful candy sprinkles. Ideal for Halloween parties or family movie nights, they bring joy and nostalgia to every bite. Easy to make and visually appealing, these apple pops invite creativity as you customize them with your favorite toppings. Get ready to impress your guests while making sweet memories with this whimsical recipe!
Why You’ll Love This Recipe
- Fun and Festive: These Halloween Apple Pops add a playful touch to any gathering, making them perfect for all ages.
- Easy to Make: With simple ingredients and steps, this recipe is great for novice bakers or a fun family activity.
- Customizable: Personalize each pop with different toppings like crushed cookies or pectin-based gummy candies for unique flavors.
- Healthy Option: Fresh apples provide nutrients while satisfying your sweet tooth, making these treats a smart choice.
- Perfect Presentation: The vibrant colors of the chocolate and sprinkles make these pops visually appealing—ideal for sharing!
Tools and Preparation
Before you start making Halloween Apple Pops, gather the necessary tools. Having everything ready will streamline your process.
Essential Tools and Equipment
- Wooden popsicle sticks
- Microwave-safe bowl
- Parchment paper
- Baking sheet
Importance of Each Tool
- Popsicle sticks: Essential for easy handling of the apple pops and providing a fun way to enjoy them.
- Microwave-safe bowl: Perfect for melting chocolate smoothly without burning it, ensuring even coverage on your apples.
- Parchment paper: Helps prevent sticking while cooling, making cleanup easier.
Ingredients
For the Apple Pops
- 4 medium apples (Granny Smith or Honeycrisp)
- 1 cup semi-sweet chocolate chips
- 2 tbsp coconut oil
- 1 cup candy sprinkles (Halloween-themed)
- 4 popsicle sticks
How to Make Halloween Apple Pops
Step 1: Prepare the Apples
- Wash and dry the apples thoroughly.
- Insert popsicle sticks into the top of each apple for easy handling.
Step 2: Melt the Chocolate
- In a microwave-safe bowl, combine chocolate chips and coconut oil.
- Microwave in 30-second intervals until melted, stirring between intervals until smooth.
Step 3: Coat the Apples
- Dip each apple into the melted chocolate until fully coated.
- Allow excess chocolate to drip off before moving to the next step.
Step 4: Add Sprinkles
- While the chocolate is still wet, generously sprinkle candy sprinkles over each apple pop.
Step 5: Chill the Pops
- Place decorated apple pops on a parchment-lined baking sheet.
- Refrigerate for about 30 minutes until chocolate hardens.
Step 6: Serve Your Treats
- Serve chilled on a platter or display them in an orange pumpkin for a spooky presentation!
Now you’re ready to enjoy your delicious Halloween Apple Pops!
How to Serve Halloween Apple Pops
Halloween Apple Pops make a festive addition to your holiday gatherings. These sweet treats can be served in various creative ways that will delight both kids and adults alike.
On a Festive Platter
- Arrange the apple pops on a colorful platter surrounded by small decorative pumpkins for an eye-catching display.
In a Pumpkin Display
- Hollow out a small pumpkin and use it as a holder for the apple pops. This adds an extra touch of Halloween spirit to your table setting.
As Party Favors
- Wrap individual apple pops in clear cellophane bags tied with orange ribbons. They make perfect take-home treats for guests.
With Dipping Sauces
- Serve alongside small bowls of caramel or peanut butter for an interactive dessert experience where guests can dip their apple pops.
How to Perfect Halloween Apple Pops
To create the ideal Halloween Apple Pops, follow these helpful tips for the best results.
- Use Fresh Apples: Choose firm apples like Granny Smith or Honeycrisp for better texture and flavor when dipped in chocolate.
- Melt Chocolate Properly: Ensure chocolate chips and coconut oil are melted slowly to prevent burning, stirring frequently for smoothness.
- Customize Toppings: Experiment with different toppings like crushed cookies or pectin-based gummy candies for unique flavors and textures.
- Chill Before Serving: Refrigerate the pops until the chocolate is fully set, ensuring they hold their shape during serving.
- Store Correctly: Keep leftover apple pops in an airtight container in the fridge to maintain freshness for up to three days.
Best Side Dishes for Halloween Apple Pops
Pairing side dishes with your Halloween Apple Pops can enhance the festive atmosphere. Here are some delicious options:
- Cheese Platter: A selection of cheeses such as cheddar, gouda, and brie complements the sweetness of the apple pops beautifully.
- Veggie Tray: Fresh vegetables like carrots, celery, and cherry tomatoes provide a crunchy contrast to the sweets.
- Popcorn Mix: Create a spooky popcorn mix with popcorn tossed in melted chocolate, candy corn, and nuts for added crunch.
- Fruit Salad: A colorful fruit salad featuring seasonal fruits like grapes, oranges, and pears provides a refreshing balance.
- Mini Sandwiches: Offer assorted mini sandwiches filled with turkey, cheese, or veggies as savory bites alongside the sweet treats.
- Hot Chocolate Bar: Set up a hot chocolate station with marshmallows, whipped cream, and spices for a cozy drink option that pairs well with apple pops.
Common Mistakes to Avoid
Making Halloween Apple Pops can be a fun and easy project, but it’s important to avoid common mistakes that could hinder your results.
- Using the wrong type of apples: Not all apples are suitable for candy coating. Choose firm apples like Granny Smith or Honeycrisp for the best results.
- Overheating the chocolate: Melting chocolate requires careful attention. Heat it in short intervals and stir frequently to prevent burning.
- Not letting excess chocolate drip off: Allowing too much chocolate to remain on the apple can make them messy and difficult to eat. Hold each apple above the bowl to let excess chocolate fall back in.
- Skipping the refrigeration step: If you don’t chill your apple pops, the chocolate may not set properly. Refrigerate them for at least 30 minutes for a firm finish.
- Forgetting about decoration options: While candy sprinkles are festive, consider other toppings like crushed cookies or pectin-based gummy candies for added creativity and fun.
Storage & Reheating Instructions
Refrigerator Storage
- Store in an airtight container to maintain freshness.
- Halloween Apple Pops last up to three days in the refrigerator.
Freezing Halloween Apple Pops
- Wrap each apple pop individually in plastic wrap.
- Store them in a freezer-safe container for up to one month.
Reheating Halloween Apple Pops
- Oven: Preheat your oven to 200°F (93°C) and place pops on a baking sheet for a few minutes until slightly warm (not melted).
- Microwave: Heat on low power for 10-15 seconds if you want to soften them slightly.
- Stovetop: Place in a covered pan over low heat until just warm, being careful not to melt the chocolate.
Frequently Asked Questions
Here are some commonly asked questions about making Halloween Apple Pops.
How do I make Halloween Apple Pops stick better?
To enhance stickiness, ensure you insert popsicle sticks into the apples while they are cold. This helps create a tighter grip.
Can I use different types of chocolate?
Absolutely! You can substitute semi-sweet chocolate with milk chocolate, white chocolate, or even dark chocolate depending on your preference.
How can I customize my Halloween Apple Pops?
Feel free to get creative! Use various toppings such as crushed nuts, colored sugars, or even drizzle additional melted chocolate over the pops for an artistic touch.
Are Halloween Apple Pops gluten-free?
Yes! The ingredients listed are naturally gluten-free, making this treat safe for those with gluten sensitivities.
Can I use other fruits instead of apples?
While apples are ideal due to their firmness, you can experiment with other fruits like pears or bananas; just note that they may require different handling due to their softness.
Final Thoughts
Halloween Apple Pops are a delightful and versatile treat perfect for any spooky celebration. With their customizable nature, you can easily adapt them with various toppings and flavors. We encourage you to try this recipe, unleash your creativity, and enjoy making sweet memories with family and friends!
Halloween Apple Pops

Get ready to celebrate the spooky season with Halloween Apple Pops! These charming treats combine the crispness of fresh apples with a luscious chocolate coating, all adorned with colorful candy sprinkles. Perfect for Halloween parties or family gatherings, these pops are not only visually appealing but also a fun activity to enjoy with loved ones. The best part? They can be customized with your favorite toppings, making each pop uniquely yours. Delight in every bite and create sweet memories this autumn with these easy-to-make festive snacks!
- Prep Time: 15 minutes
- Cook Time: 5 minutes
- Total Time: 20 minutes
- Yield: Makes 4 servings 1x
- Category: Dessert
- Method: No-bake
- Cuisine: American
Ingredients
- 4 medium apples (Granny Smith or Honeycrisp)
- 1 cup semi-sweet chocolate chips
- 2 tbsp coconut oil
- 1 cup candy sprinkles (Halloween-themed)
- 4 popsicle sticks
Instructions
- Wash and dry the apples thoroughly, then insert popsicle sticks into the top of each apple.
- In a microwave-safe bowl, combine chocolate chips and coconut oil. Microwave in 30-second intervals until melted, stirring until smooth.
- Dip each apple into the melted chocolate until fully coated, allowing excess chocolate to drip off.
- While the chocolate is still wet, sprinkle candy sprinkles over each apple pop generously.
- Place decorated apple pops on a parchment-lined baking sheet and refrigerate for about 30 minutes until the chocolate hardens.
- Serve chilled on a platter or display them creatively for your guests.
Nutrition
- Serving Size: 1 serving
- Calories: 180
- Sugar: 22g
- Sodium: 25mg
- Fat: 9g
- Saturated Fat: 7g
- Unsaturated Fat: 2g
- Trans Fat: 0g
- Carbohydrates: 24g
- Fiber: 2g
- Protein: 1g
- Cholesterol: 0mg